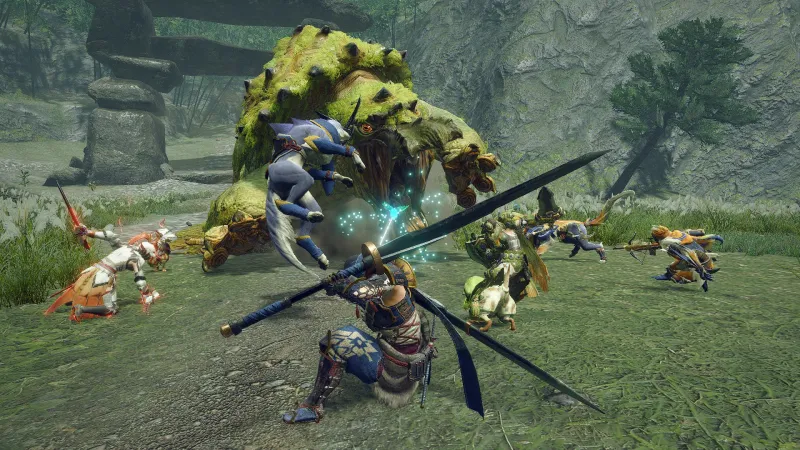
The latest chapter in the Monster Hunter series launched yesterday. We know that a large majority of players will likely be returning veteran hunters, but let’s not just forget about the novice adventurers who might struggle with the series’ (sometimes) harsh difficulty curve. Join us as we get you up to speed on some of the most important tips that you’ll need to get started in Monster Hunter Rise.
Capture Monsters Instead Of Slaying Them
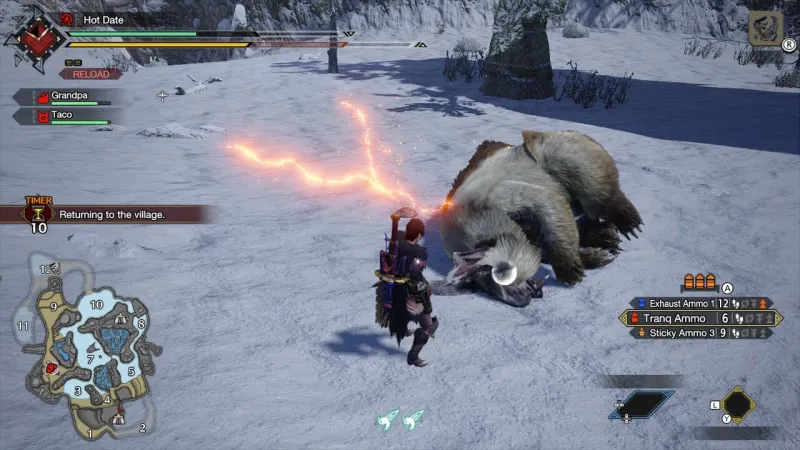
Here’s a classic Monster Hunter tip: Stop killing everything that moves (especially your larger, more ferocious opponents). The rewards that you gain at the end of each quest determine the equipment pieces that you can forge back in Kamura Village. Capturing your prey can net you some exclusive materials in addition to your normal haul. I’ll be the first to admit that outright obliterating monsters (especially that pesky Somnacanth) is cathartic as hell. But if you’re looking to get more bang for your buck, equip yourself with a trap or two and a couple of tranq bombs (or tranq rounds if you’re a bowgun main like me). When your target monster is weak enough, place a trap in its path and pop those tranquilizers as soon as it’s immobilized.
Lock On With The Targeting System
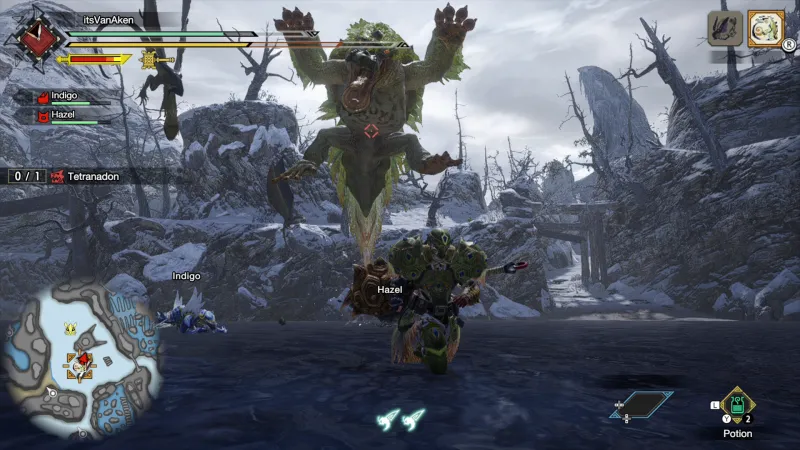
The early hours of Monster Hunter Rise are bursting at the seams with tutorial text, and it can often be overwhelming for certain players. If you’re having trouble remembering how to lock on to big targets, we’ve got you covered. Look to the top right of the screen to see the icons that are associated with the large monsters currently present on the map. Click the right analog stick to cycle through and highlight one of those targets at a time, and then once you’re within proximity of the monster you can simply tap L to focus on it. Once locked on, flick the right stick right or left to cycle through the specific hitboxes on the monster’s body.

Use Wirebugs Often
Among the most significant additions that Monster Hunter Rise introduces are wirebugs, which essentially serve as a grappling hook mechanic that can be utilized to scale large mountains, engage in aerial combos, and execute powerful silkbinds on monsters. Each weapon has two unique silkbind moves that can be used by combining ZL with either X or A. These attacks range from stationary traps that the monster can run headfirst into all the way to flying acrobatic attacks that deal massive damage. Be sure to time your moves wisely, as each wirebug move consumes one of your two wirebug cooldowns. Lastly, Great Wirebugs can also be found within the environment, and when used will send your Hunter flying to new heights.
Damage Other Monsters While Wyvern Riding
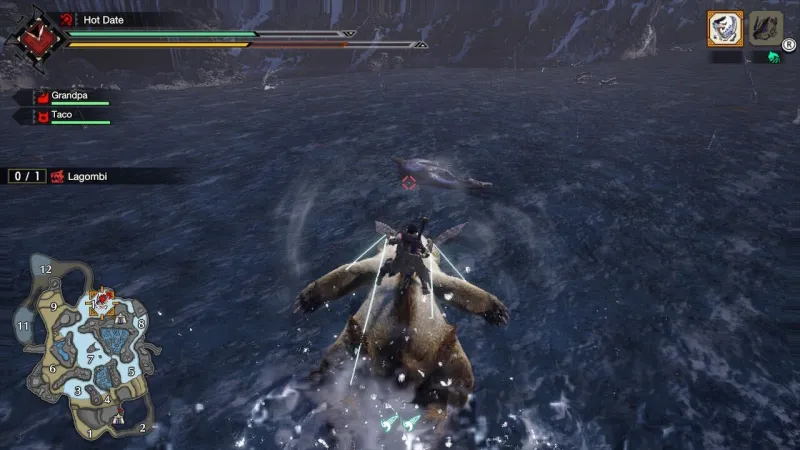
Wyvern Riding is hands down the most exciting new feature in Monster Hunter Rise. Successful silkbinds allow you to mount stunned monsters and exert control over them, albeit for a short amount of time. After straddling the backs of these majestic beasts, you’re given one of two options: dash against hard surfaces to quickly bring your mount to its knees or attack other unsuspecting monsters in the vicinity. The latter of the two is the optimal option simply because your damage output is guaranteed to be higher. Just imagine taking down a terrifying monster with a Rathalos fireball or Tobi-Kadachi tailspin. Quit day-dreaming and go try it out for yourself!

Enable The Focus Camera Option For Handheld Play
The Nintendo Switch’s Joy-Cons have less-than-great analog sticks that make smooth movement and tracking difficult to execute. It can be annoying to keep up with fast-moving monsters if you don’t have a Pro Controller handy, but luckily the Focus Camera option makes handheld gameplay so much more enjoyable by centering the camera on and automatically following the monster that’s currently targeted. To enable this feature, press the Plus button and navigate to the System sub-menu and select Options. Scroll down to Camera and then find the Camera Style option to switch from the Target Camera to the Focus Camera.
Look For And Build Sub-Camps As Soon As Possible
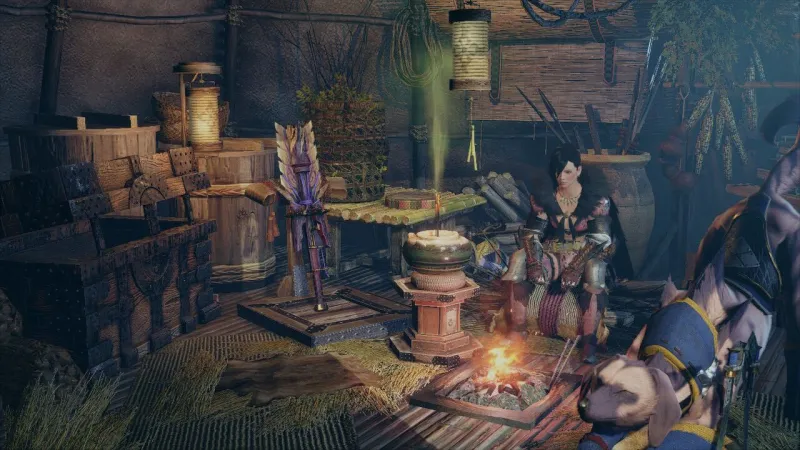
While exploring each environment, you might happen upon suitable spots to set up sub-camps. These hidden areas allow you to establish extra footholds for quick transport. This is beneficial in spacious locales like Lava Caverns and Sandy Plains. Of course, setting up extra camps isn’t as easy as pressing a button; you’ll have to accept camp-specific sidequests back in Kamura Village which might require you to slay certain monsters or gather an array of materials. Once you’ve completed the assigned task, a new camp icon will appear on your worldmap and fast-traveling is enabled. Use your sub-camps to get to certain collectibles or wandering monsters as soon as you load in.
Use The Detailed Map View For Efficient Farming Runs
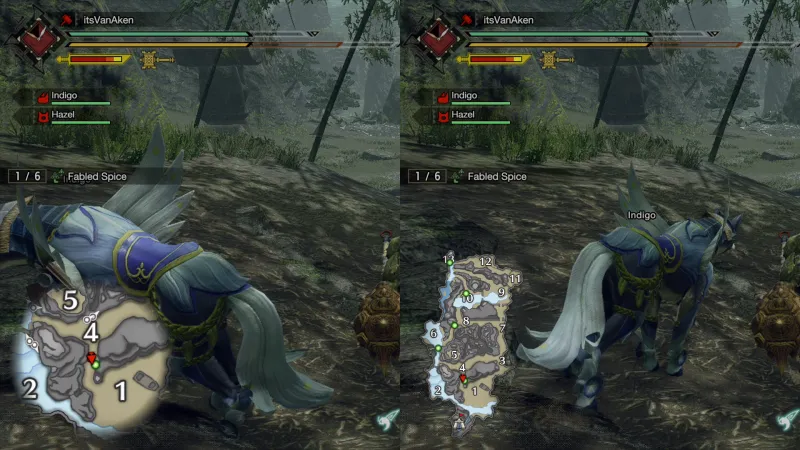
Certain weapons like the bow gun require various ammo types for certain situations, which are crafted by collecting resources from the environment. To make those farming runs more efficient, we recommend switching to the detailed version of the mini map.
To do so, open up your System options again. This time, then go to Game Settings. Scroll down to HUD Map Type and switch it from General Map to Detailed Map. Below that, make sure HUD Map Toggle Type is on. Now your mini map will display a close-up view of the collectibles within the environment, and if you’d like a larger view of the map you can tap L to look at the General Map again.
Prioritize Defense Stats In The Opening Hours
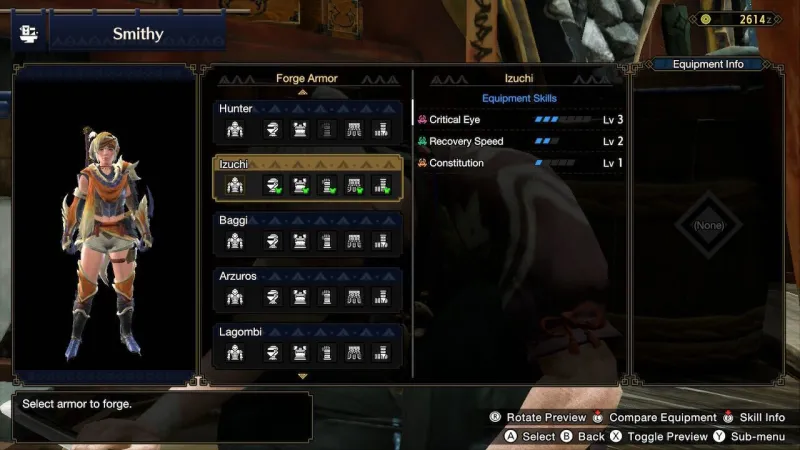
In the beginning, you’re the lowest hunter on the totem pole despite having serious “chosen one” potential. As per usual, your starting gear will have negligible stats and low rank monsters like the Great Baggi and Kulu-Ya-Ku will be tossing you around like a ragdoll. Don’t worry, that’s normal; this is the notorious Monster Hunter difficulty curve. Gain your bearings, make sure to eat an order of Bunny Dango at the Canteen prior to a big hunt, and throw everything you’ve got into each quest. During return trips, use monster parts to craft better armor. Sure, stronger weapons are appealing, but it’s far more important that you take your time and live to see another day than go out in a blaze of glory with no post-battle loot to your name.
Get To Know The Training Area With Friends
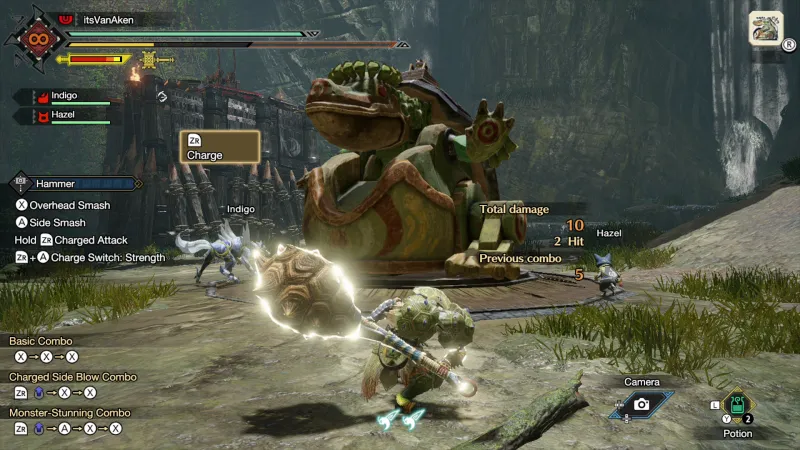
The best way to enjoy Monster Hunter Rise is with friends, but as is the case with most multiplayer games, sometimes you’ll find yourself waiting on someone that’s busy exploring menus or doing something else off-screen. Instead of sitting around and doom-scrolling social media, head over to the training room, which can be quickly accessed by fast travelling around the village or by the small ferry that rests on the Buddy Plaza’s waterfront.
The training room offers a safe environment to test out new weapons. You’ll be able to practice combos on a giant stationary monster while input commands are displayed on screen to help you better understand the individual moves within any given combo. And the best part is that multiple friends can practice in the training room together!
Use The Buddy Plaza Facilities Often
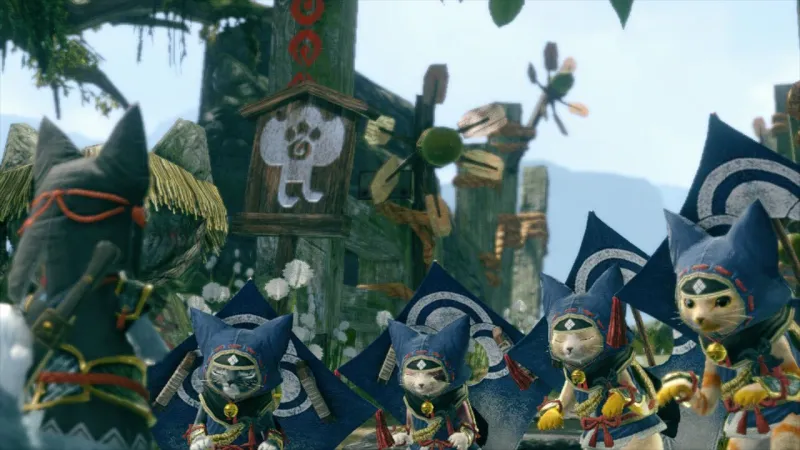
Your pet palicoes and palamutes do more than just assist in fights or transport you from Point A to Point B. At the Buddy Plaza, your furry friends can be sent on missions of their own to nab miscellaneous items from the lands beyond Kamura Village’s borders. Meowcenaries, a small band of elite palico scavengers, can be mobilized and sent on long journeys to secure monster parts and crafting materials from a bevy of different locations. Rhondine the Trader gives you submarines that your pets can operate to travel overseas and barter for foreign trade goods. Or, if you’d prefer to have your buddies by your side at all times, you can opt to level up their stats and skills in the Buddy Dojo. Hire a ton of palicoes and palamutes and create an intercontinental empire.
Whether you’re a new fan or a returning one, there’s plenty to explore in the game’s many biomes and a lot of enjoyment to find in its arsenal of weaponry and companions. Regardless of how you choose to play, we hope these ten essential tips help you when getting started in Monster Hunter Rise.
No comments:
Post a Comment